Setting up SlickVPN on Windows
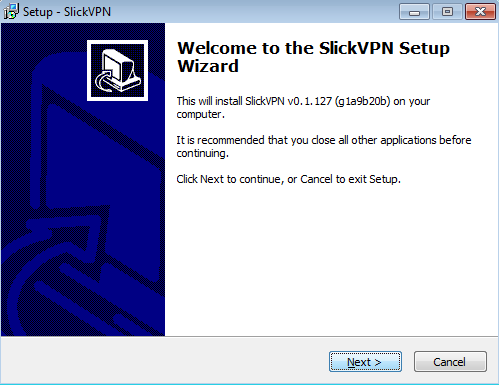
1. Click ‘Next’ to start the install
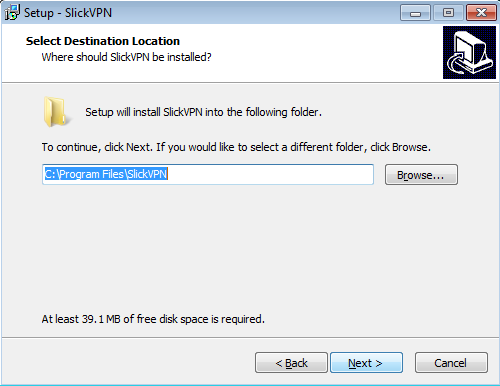
3. Click ‘Next’ to accept the default location
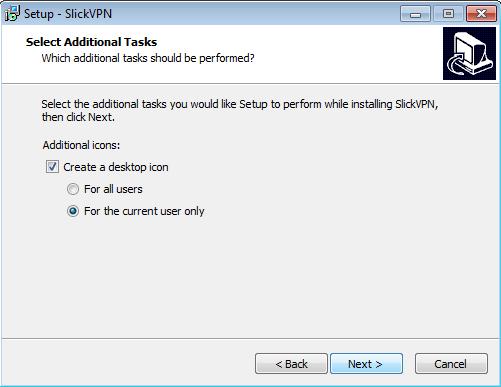
5. Click ‘Next’ to Create Desktop icons
7. Click ‘Finish’ to leave the installer
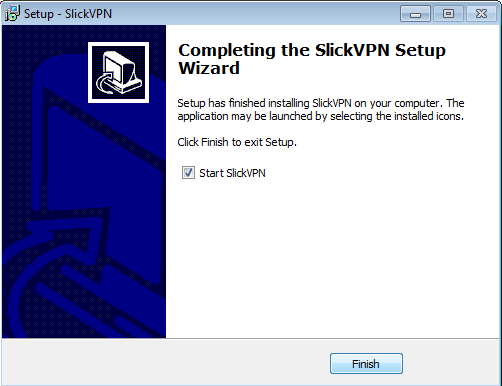
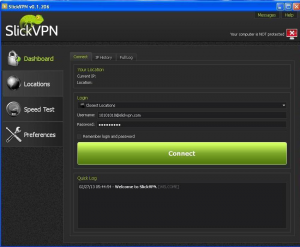
SlickVPN will automatically start
9. Wait for the checkbox in the upper right corner to turn green
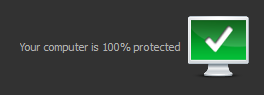
Enjoy the added security and anonymity of your SlickVPN Connection!
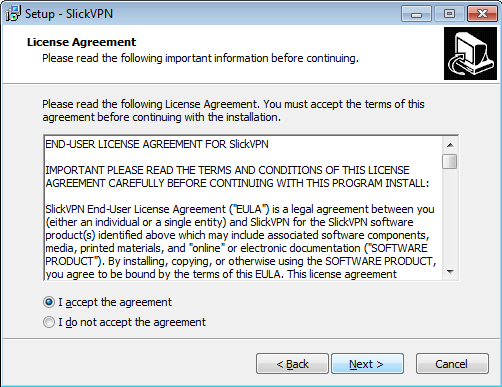
2. Accept the License Agreement and click ‘Next’
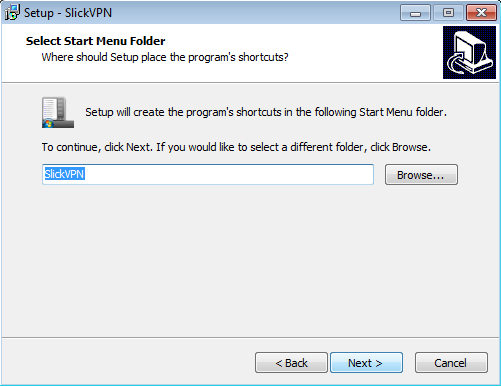
4. Click ‘Next’ to accept the Start Menu shortcut
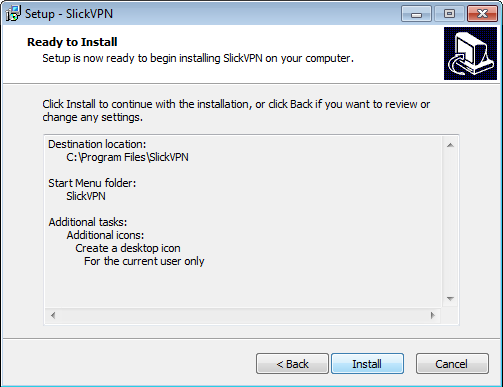
6. Click ‘Install’ to complete setup
8. Enter your username and password and click ‘Connect’. The program will automatically create a group and add the ten geographically closest locations in it. Click ‘Ok’ to connect